How to Read Your NDIS Plan (Without the Headache)
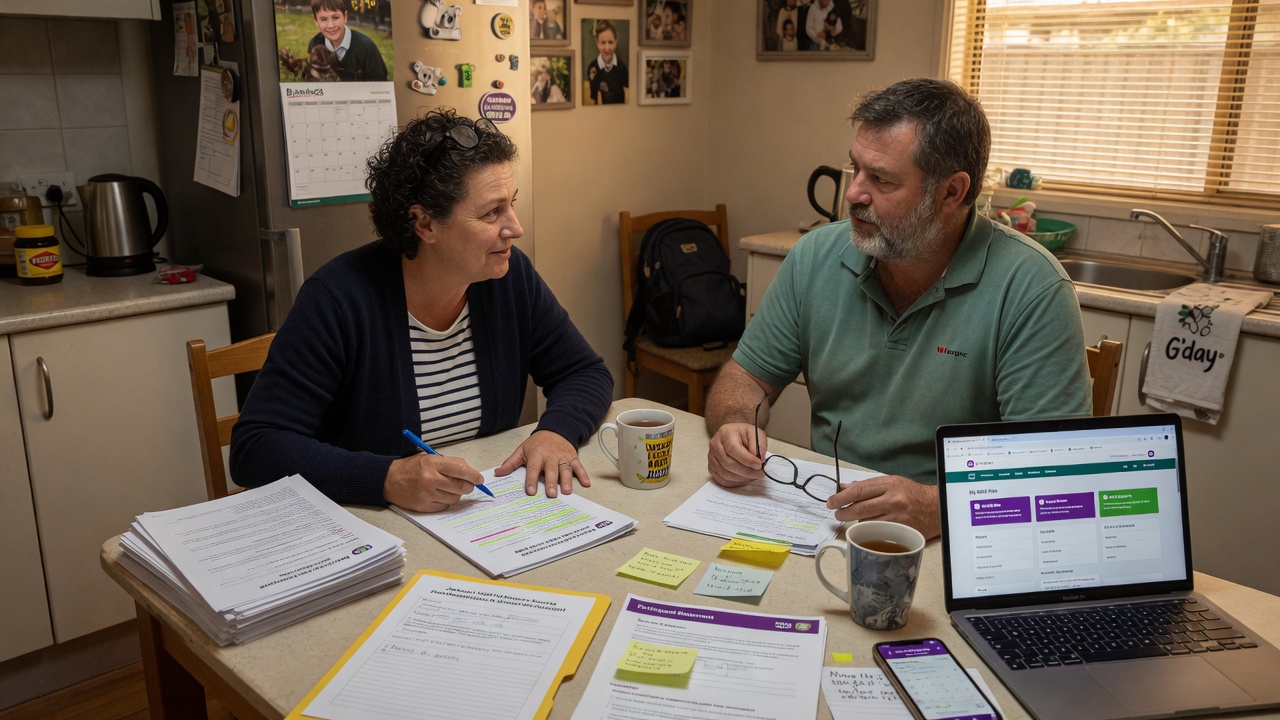
If you've just received your NDIS plan and you're staring at a thick envelope wondering where to even start — you're not alone. NDIS plan documents aren't exactly page-turners, and the way they're laid out doesn't always make it easy to find what you actually need to know. Here's how to read your NDIS plan and quickly get to the stuff that matters.
Find your budget table first
Honestly, skip the intro pages for now. Flip through until you hit a page with a table showing dollar amounts — that's your budget breakdown. This is the bit you'll come back to most often, so stick a sticky note on it or fold the corner. Your plan will show three main budget buckets, and understanding these is half the battle:
- Core Supports — the day-to-day stuff. This covers personal care, community access, transport, consumables, and social participation. It's usually the biggest pool of money and tends to be the most flexible.
- Capacity Building — this is where your therapies and skill-building sit. OT, speech pathology, physio, psychology, support coordination, employment supports — they all land here. Each category within Capacity Building is typically locked to its own line, so you can't shuffle money from physio to OT without a plan variation.
- Capital Supports — the big-ticket items. Assistive technology, home modifications, Specialist Disability Accommodation. These almost always need specific quotes and approvals before you can use them.
If you want the full deep-dive on each category and how they work in practice, we've got a guide to NDIS plan budgets that walks through every line.
How to read the actual numbers
This is where the NDIS plan document gets a bit confusing. Your budget table will show a few different numbers for each support category, and they don't always mean what you think they mean. Here's what you're looking at:
Total funding — the full dollar amount for that category across your entire plan period (usually 12 months, sometimes longer). Don't panic if this number looks huge — it's spread over the whole plan, not per month.
What's been spent — if you're mid-plan this shows how much you've used so far. On a brand-new plan it'll be zero (or close to it).
Remaining — what you've got left. This is the number that actually matters day-to-day. Your plan manager or myplace portal will track this for you in real time.
The trickiest bit? Some categories show a total but the individual line items underneath aren't flexible — you can't just take money from one and spend it on another unless the plan says you can (look for the words "stated" vs "flexible" next to each line). If it says "stated," that money is locked to that specific support. If it says "flexible," you've got some wiggle room.
💡 Key point: Your plan document on paper is a snapshot. The actual, live balance is on the myplace portal or — if you're plan-managed — your plan manager's dashboard. Don't rely on the printed numbers months into your plan; they'll be out of date.
Your goals section: why it matters more than you think
Every NDIS plan has a section listing your goals. It's tempting to skip this — especially if you've already had the planning conversation and know what you asked for. But here's the thing: every dollar in your plan is supposed to connect back to at least one of these goals.
When you're looking at a support and wondering "is this covered?", the test is: does it help me achieve a goal written in my plan? If you read your goals and something you need isn't reflected there at all, that's worth flagging — either now (if you're still in the review window) or at your next plan review.
Common goals people include: improving independence at home, building social connections, finding or keeping a job, managing daily tasks more safely, participating in community activities. The more concrete and personal, the better they serve as a reference point when you're using your funding.
What to do if something doesn't look right
You've read through your newly approved NDIS plan and something feels off. Maybe a support category is underfunded, a goal is missing, or there's a service listed that you never asked for. Don't just shrug and hope for the best — here's your options:
- Within 100 days of receiving your plan: you can request an internal review (sometimes called an s100 review). This is your formal "I think this decision was wrong" pathway. Put it in writing and be specific about what needs changing and why.
- Any time during your plan: you can request a plan variation for smaller changes (like reallocating funds within a category if your needs shift).
- Talk to your support coordinator or plan manager first. Sometimes what looks like a mistake is actually just the way the NDIS formats things — a fresh pair of eyes (especially ones that see plans every day) can spot whether it's a genuine problem or a formatting quirk.
And if the whole thing still feels like a brick wall after a solid read-through? That's completely normal. Plans are dense documents, and even people who work in the sector full-time sometimes need a second pass. Pour a cuppa, tackle it in chunks, and don't be shy about asking someone to help you decode it.