Your NDIS Plan Just Got Approved — What Happens Now?
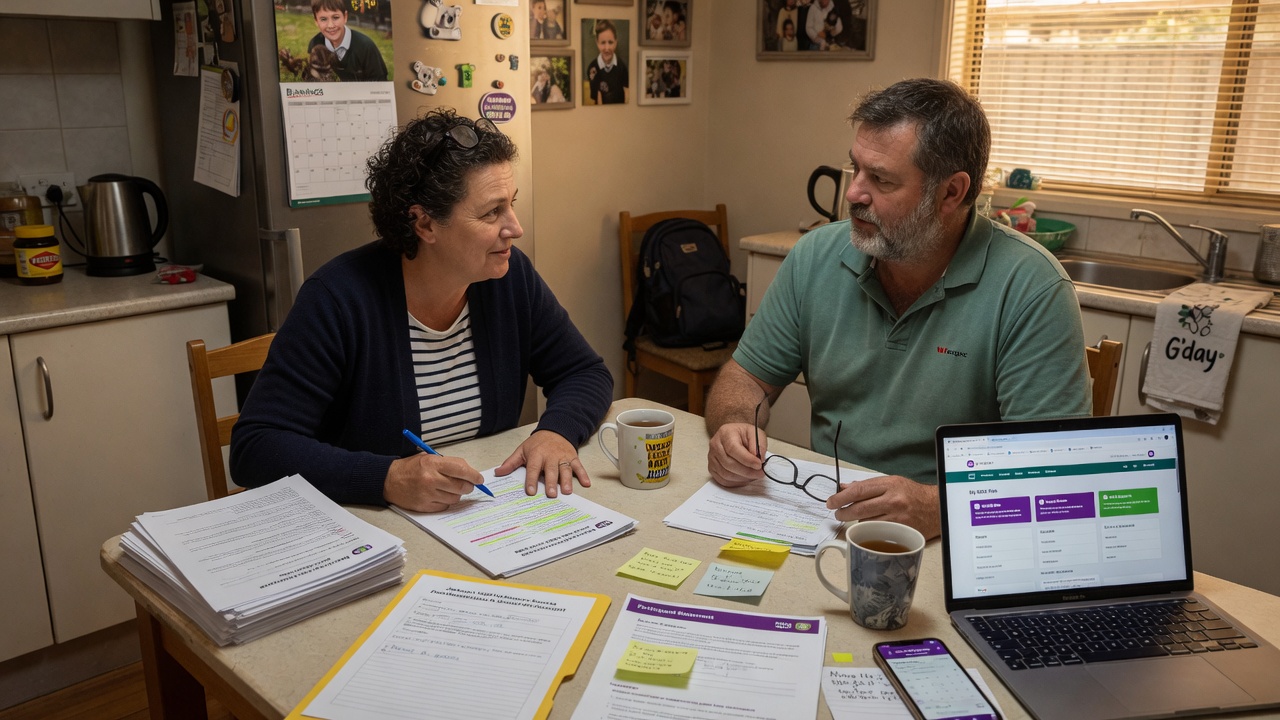
Getting that "your plan is approved" letter feels like a huge relief — and it should. You've made it through the access request, the planning meeting, and the waiting. But then the letter arrives and you're staring at a thick document full of budget tables, line items, and categories that don't exactly come with a user manual.
What do you actually do after your NDIS plan gets approved? Let's walk through it — step by step, no jargon, no overwhelm.
💡 Key point: Your plan starts the moment it's approved, but nothing happens automatically. You need to actively set up your supports. The good news? You don't have to figure it out alone — your Local Area Coordinator (LAC) or support coordinator can guide you, and choosing plan management early makes everything else smoother.
Step 1: Actually read your plan (yes, the whole thing)
We know — it's not exactly bedtime reading. But your plan contains everything you need to know about what's been funded and how to use it. Grab a coffee, sit down at the kitchen table, and go through it with a highlighter.
The key sections to look for:
- Your goals — these are what the NDIS is funding you to achieve. Every support you use should connect back to one of these goals.
- Your budgets — split into Core, Capacity Building, and Capital. These are your spending buckets, and they're not interchangeable. Understanding how they work is the single most important thing — we've got a full breakdown of NDIS plan budgets here.
- How your plan is managed — your plan letter will specify whether each budget is agency-managed, plan-managed, or self-managed. If it says "plan-managed," you need to choose a plan manager.
- Your support coordinator — if you've been funded for support coordination, their details may be listed. If not, check with your LAC.
Step 2: Choose a plan manager (if your plan is plan-managed)
If your plan has "plan-managed" written against your budgets, one of your first moves should be locking in a plan manager. Why first? Because once they're onboard, they handle the financial admin for you — invoice processing, provider payments, and budget tracking — while you focus on finding the right supports.
Plan management is fully NDIS-funded at no cost to you. The NDIS adds the funding on top of your support budgets specifically for plan management, so it doesn't eat into your therapy hours or support worker funding. Yes, plan management really is free — here's how it works.
When you're choosing a plan manager, look for someone who:
- Processes invoices fast (ideally within 48 hours)
- Actually answers the phone when you call
- Checks invoices against NDIS pricing rules before paying
- Gives you clear, regular updates on your budget balances
We've written more on how to find a good NDIS plan manager — it's worth a read before you commit.
Step 3: Find your providers and start your supports
Now the good bit — actually getting the support you need. Depending on what's in your plan, you might be looking for:
- Support workers for daily living and community access
- Therapists — occupational therapists, speech pathologists, physiotherapists, psychologists
- Equipment and assistive technology providers
- Home modification specialists
- Employment support services
If you're plan-managed, you can use both registered and unregistered providers — that gives you way more options, especially for support workers and allied health. If you're agency-managed, you're limited to registered providers only.
Your LAC or support coordinator can help with provider recommendations. But honestly, word of mouth and local Facebook groups often give the most honest picture of who's good and who's not.
Step 4: Set up service agreements
Once you've found a provider you want to work with, they'll ask you to sign a service agreement. This is basically a contract between you and the provider — it sets out what they'll do, how much it'll cost, and how to cancel or change things.
Read it carefully. If something doesn't feel right, push back. You're the customer here. The agreement should clearly state:
- What services they're providing and how often
- The hourly rate or total cost
- The cancellation policy (standard NDIS is 2 business days' notice for support workers, 7 days for therapists)
- How to make a complaint if something goes wrong
- How to end the agreement if you want to switch providers
Step 5: Track your spending (or let your plan manager do it)
This is where a lot of people get caught out. You start using supports, invoices roll in, and suddenly you're three months in and your budget's running low.
If you're plan-managed, your plan manager tracks this for you. They'll show you how much you've spent, how much is left, and whether your current burn rate will last the full plan period. If you're self-managing, you'll need to track it yourself through the myplace portal or a spreadsheet.
Learn more about how plan management works and why it takes the admin off your plate.
Step 6: Your first plan review — start thinking about it now
It sounds premature, but your plan review will arrive faster than you think. Start keeping notes now on what's working and what's not. Which providers are great? Which supports are making the biggest difference? What gaps are you noticing?
These notes are gold when it comes to your plan review meeting — they're evidence of what you need, straight from your lived experience. If you wait until the review is scheduled, you'll be scrambling to remember what happened six months ago.
You've got this
The NDIS system isn't always intuitive, and the paperwork can feel like a second job. But once your supports are set up and your plan manager is handling the financial side, things settle into a rhythm. Give yourself permission to take it one step at a time — you don't need to figure out everything on day one.